Jooleer Vision Tongue Drum Projector Installation Guide
Please click the link to watch the video
Our usual recommendation is to install the app on an iOS device and use AirPlay to project the screen. This approach is more convenient for operation and prevents overheating and lag that can occur from running the app on the projector for extended periods, but you can also
Jooleer Vision Tongue Drum XR Note Position Adjustment Guide
Adjust the position and movement direction of each sound according to the following instructions so that each sound in the projected image corresponds to the actual position of the tongue drum.

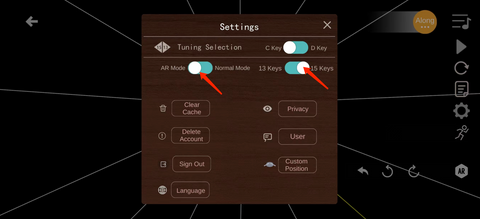
2. Enable AR mode and 15 keys mode.
3. Close the settings window.

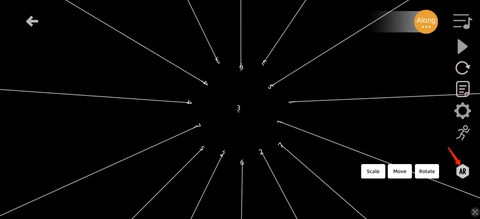
Click the AR button to activate the adjustment buttons.

After clicking Scale, you can click the left or right arrow to select the note you want to adjust. When the line turns yellow, it means you are about to adjust this note. When all lines are white, it means you are adjusting the note in the center.

After selecting the note, click Move, then click the up, down, left, or right arrows to adjust the position of the note.

Finally, click Rotate to adjust the rotation of each note’s movement position, making the direction of the note’s movement more natural. Perform the above steps for each note one by one, adjusting each note’s projection state to perfection.

